How to Switch SEO Plugin Without Losing Rankings: A Safe Checklist
A safe, step-by-step checklist for moving to a new WordPress SEO plugin: back up, inventory, import, verify key URLs, monitor Search Console and roll back.
In this article
- Key takeaways
- Why rankings drop after an SEO plugin switch
- The checklist: how to switch SEO plugins without losing rankings
- Step 1: Back up the whole site
- Step 2: Inventory your current SEO settings
- Step 3: Install the new plugin and import
- Step 4: Verify your sample URLs
- Step 5: Keep only one SEO plugin active
- Step 6: Check the sitemap and robots.txt
- Step 7: Monitor Search Console for 2 to 4 weeks
- How to roll back if something goes wrong
- How RankFlect SEO's importer works
- Frequently asked questions
- Will changing my SEO plugin affect my Google rankings?
- Can I run two SEO plugins at the same time?
- Do I need to resubmit my sitemap after switching SEO plugins?
- How long should I monitor Search Console after switching?
- Should I delete my old SEO plugin after switching?
You can switch SEO plugins without losing rankings if your pages output the same titles, meta descriptions, robots rules, canonicals, redirects and structured data before and after the move. The safe order is: back up, record your current setup, import, check key URLs, keep one SEO plugin active, then watch Search Console for a few weeks. This checklist works for any WordPress SEO plugin, and the end of the guide shows how RankFlect SEO's importer handles it.
Key takeaways
- Google ranks the HTML your pages output, not the plugin that produces it. Keep that output the same and rankings have no reason to move.
- Most problems come from settings that importers skip: site-wide title templates, noindex rules for archives, robots.txt edits and verification codes.
- Never delete the old plugin before importing. Its data needs to be in the database for the importer to read.
- Run only one SEO plugin on a live site. Two plugins print duplicate meta tags and schema.
- Have a rollback plan before you start.
Why rankings drop after an SEO plugin switch
Switching plugins is not risky in itself. Rankings drop when something on the page changes without anyone noticing. The usual causes:
- Titles and descriptions fall back to defaults because custom per-post values or title templates weren't imported.
- Noindex rules change. Thin archives that were noindexed become indexable, or worse, important pages become noindexed.
- Canonicals disappear or point to the wrong URL.
- Redirects stop working because they lived in the old SEO plugin.
- The sitemap URL changes and Search Console still reads the old one.
- Schema or breadcrumbs change shape, which can affect rich results.
Each of these is easy to catch if you know your starting point. That is what the first steps are for.
The checklist: how to switch SEO plugins without losing rankings
Step 1: Back up the whole site
Take a full backup of the database and files with your host or a backup plugin. Do this even if the new plugin makes its own backup. A plugin's backup usually covers only its own data, not the whole site.
If you can, run the whole switch on a staging copy first. It turns surprises into notes instead of incidents.
Step 2: Inventory your current SEO settings
Open your current SEO plugin and write down, or screenshot, everything that affects output. A spreadsheet works well. Cover:
- Title and meta description templates for posts, pages, products, categories, tags, archives and the home page, plus the title separator.
- Noindex rules: which content types, taxonomies and archives (author, date, tag pages) are set to noindex, and any individual posts.
- Canonicals: any custom canonical URLs on individual pages.
- Redirects: export the list if the plugin allows it, and note whether any use regex.
- Sitemaps: the sitemap URL and which content types are included.
- Schema: your organization or person details, logo, and any custom schema on key pages.
- Breadcrumbs: whether your theme uses the plugin's breadcrumb function or shortcode.
- Verification codes for Google, Bing and others, if the plugin added them.
- robots.txt edits made through the plugin's editor.
- Social defaults: default Open Graph image, X (Twitter) username, Facebook settings.
Then pick 10 to 20 sample URLs: your home page, top landing pages from Search Console, a category, a product if you sell, and a page you know is noindexed. For each one, save the page source or note the title, meta description, robots meta tag, canonical and schema types. This is your baseline.
Step 3: Install the new plugin and import
Install and activate the new plugin while the old one is still installed. Run its importer for your old plugin. Most importers cover per-post titles, descriptions, focus keywords, robots settings and canonicals. Fewer import site-wide settings or redirects, so check the importer's documentation and compare it with your inventory.
Anything the importer doesn't cover, set by hand now: title templates, archive noindex rules, verification codes, social defaults and robots.txt lines.
Step 4: Verify your sample URLs
Deactivate the old plugin so only the new one outputs tags, then open each sample URL and view the source. Compare it with your baseline:
- Exactly one
<title>and one meta description, with the same text as before. - The same robots meta tag. A noindexed page should still be noindexed, and indexable pages should not suddenly be noindexed.
- One canonical tag pointing to the right URL.
- Schema present and valid. Run key pages through Google's Rich Results Test.
- Old redirected URLs still return a 301 to the right place.
For your most important pages, use the URL Inspection tool in Search Console and run a live test. It shows whether Google can index the page and compares the canonical you declared with the one Google selected.
Step 5: Keep only one SEO plugin active
Once the sample URLs look right, keep the old plugin deactivated. Two SEO plugins on a live site usually print two titles, two sets of meta tags and competing schema. Don't delete the old plugin yet: some plugins remove their data on uninstall, and you may need it to roll back.
Step 6: Check the sitemap and robots.txt
Open the new sitemap and confirm it lists your important URLs and leaves out noindexed ones. If the sitemap URL changed, submit the new one in the Sitemaps report in Search Console and make sure robots.txt points to it. Google's sitemap documentation covers both methods.
Also open /robots.txt. If your old plugin generated it, its custom rules may be gone. Add them back in the new plugin.
Step 7: Monitor Search Console for 2 to 4 weeks
Watch the Performance report for clicks and impressions on your key pages, and the Pages (indexing) report for new "Excluded by noindex tag" or "Alternate page with proper canonical tag" entries. Normal day-to-day movement is expected. A steady drop on specific pages points to something you can fix, usually a tag that changed.
How to roll back if something goes wrong
Decide your rollback before you start, so you can act quickly:
- Deactivate the new plugin.
- Reactivate the old plugin. If you didn't delete it, its data is usually still there.
- Re-check your sample URLs and resubmit the old sitemap if its URL differs.
- If the import changed data you need back, restore the plugin's own backup or your full site backup.
Then work out what went wrong on staging before trying again.
How RankFlect SEO's importer works
RankFlect SEO imports from Yoast SEO, Rank Math, All in One SEO, SEOPress, The SEO Framework, Slim SEO, Squirrly SEO and the Redirection plugin. The old plugin doesn't need to be active, because RankFlect SEO reads its saved data directly and never changes it.
- Go to RankFlect SEO → Tools and find Import from another SEO plugin. Each plugin with data on your site is listed with the number of posts and redirects found.
- Leave Overwrite SEO data already set in RankFlect SEO off for a first import, so only empty fields are filled.
- Turn on Deactivate the old plugin after the import when you are ready to switch.
- Click Import. RankFlect SEO takes a backup first, then imports in batches of 100 posts.
Per-post titles, descriptions, focus keywords, robots settings, canonicals and social fields come across, and title variables are converted. The guide to importing from other SEO plugins lists the exact fields per plugin. Exact-match redirects are imported from Rank Math, Yoast SEO Premium, Squirrly and Redirection, as described in importing redirects. Site-wide settings, such as title templates and verification codes, need to be set by hand for every source except Squirrly SEO, so keep your inventory from step 2 handy.
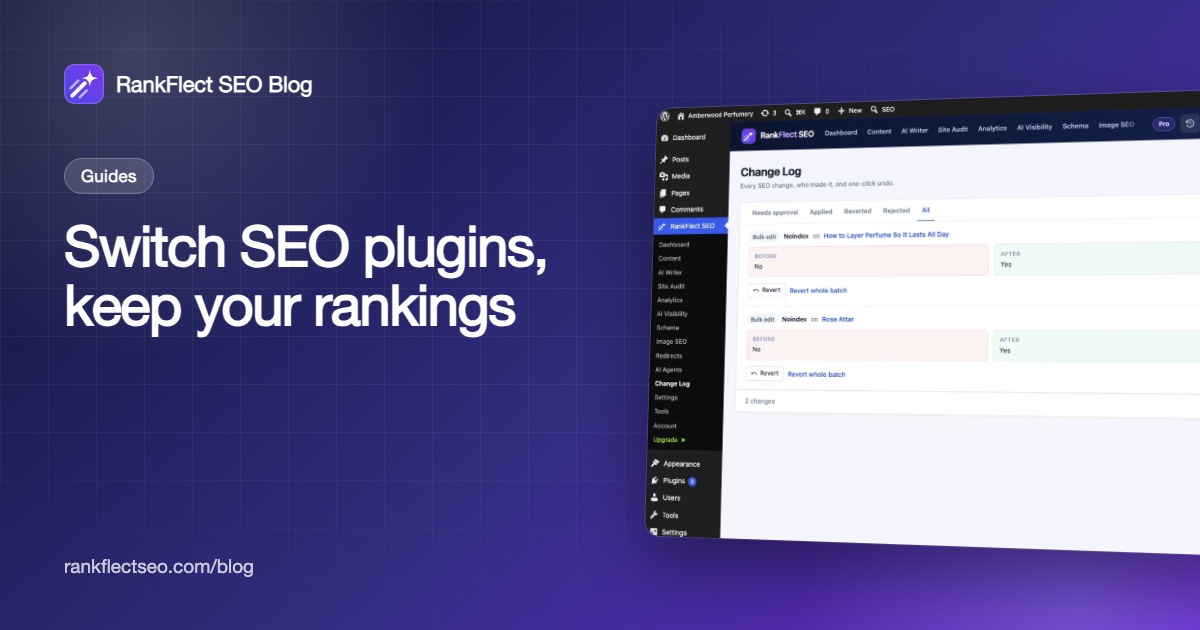
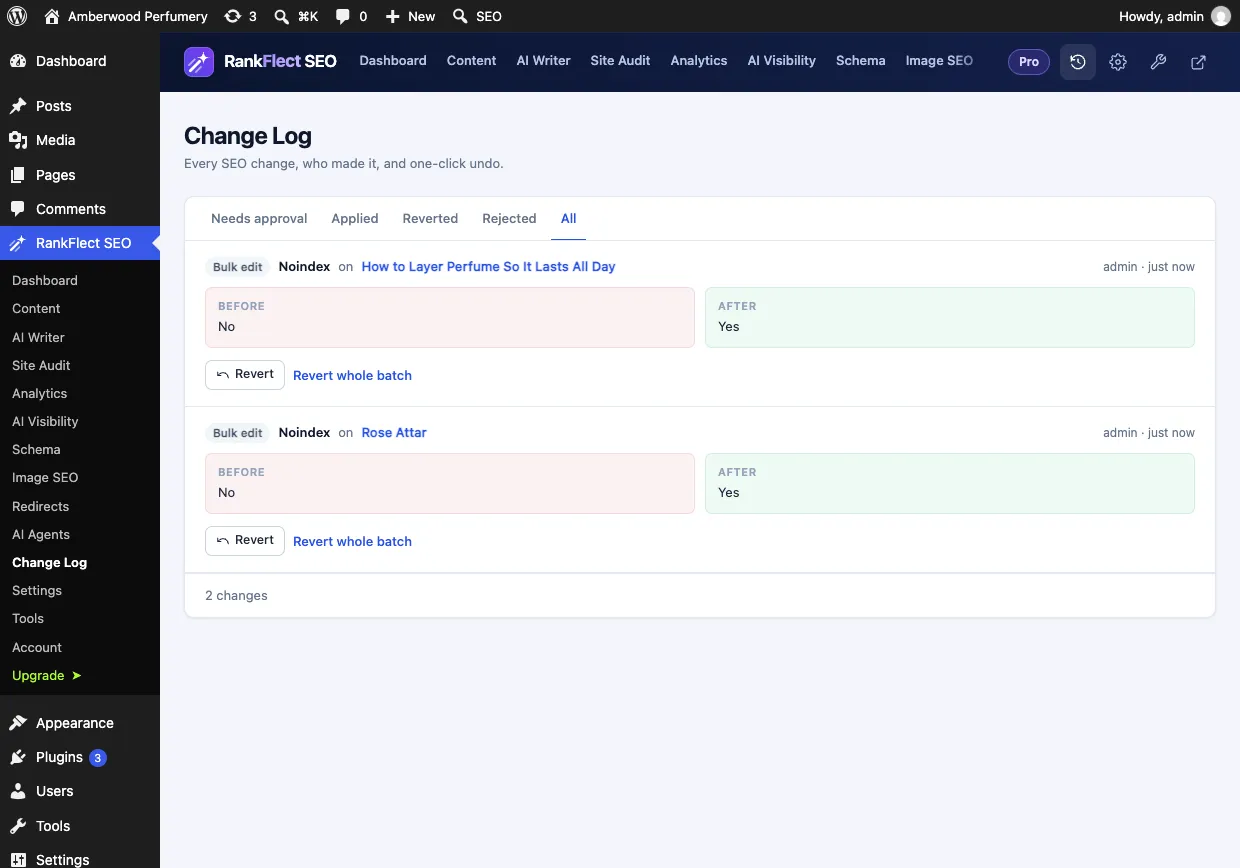
The whole import is one batch in the Change Log. If something looks wrong, click Revert whole batch, or restore the automatic backup labelled Before importing from another SEO plugin from the Backups tool.
A few other details help with the later steps. The XML sitemaps are at /wp-sitemap.xml, and /sitemap.xml and /sitemap_index.xml redirect there, so a sitemap you submitted with Yoast SEO or Rank Math keeps working. If two SEO plugins are active, RankFlect SEO shows a warning; see running RankFlect SEO alongside another SEO plugin. For monitoring, you can connect Google Search Console and see clicks, impressions and position compared with the previous period inside WordPress.
RankFlect SEO is free to download if you want to try the importer on a staging site first.
Frequently asked questions
Will changing my SEO plugin affect my Google rankings?
Not by itself. Google reads the titles, meta tags, canonicals, structured data and links your pages output, and doesn't know which plugin made them. Rankings change only if that output changes, which is why you compare sample URLs before and after the switch.
Can I run two SEO plugins at the same time?
Only briefly, during the import. Two active SEO plugins usually print duplicate titles, meta descriptions and schema, which sends mixed signals. Deactivate the old plugin as soon as you have checked the import.
Do I need to resubmit my sitemap after switching SEO plugins?
Only if the sitemap URL changed. Submit the new URL in the Sitemaps report in Search Console and update robots.txt. If the old URL redirects to the new one, an old submission keeps working, but resubmitting removes any doubt.
How long should I monitor Search Console after switching?
Two to four weeks is a sensible window, because Google needs time to recrawl your pages. Watch clicks and impressions on your key pages and any new indexing exclusions. If nothing unusual appears in that time, the switch went well.
Should I delete my old SEO plugin after switching?
Keep it deactivated until you're confident everything works, because you may need its data to roll back. Some plugins remove their data when you delete them. Once a few weeks have passed without problems, you can delete it.
- #seo plugins
- #migration
- #wordpress seo
- #search console
- #redirects
Written by
RankFlect SEO TeamThe people who build RankFlect SEO, the WordPress SEO plugin with a built-in MCP server. We write about what we learn shipping SEO tools for AI search.
All articles →Let AI agents fix your SEO. You keep the undo button.
RankFlect SEO is free for unlimited sites, with a built-in MCP server, approval for every change and no AI credits.